
What You Need to Know
Electronics fail more often during international travel than any other type of luggage item. Temperature changes, pressure shifts, rough handling, and power surges destroy thousands of devices daily across airports worldwide. Professional photographers, digital nomads, and business travelers have learned hard lessons about protecting their gear through trial and expensive error.
The key lies in understanding how airline handling, customs inspections, and varying international power standards threaten your devices. Smart packing goes beyond bubble wrap – it requires strategic placement, proper documentation, and backup plans for when things go wrong. These techniques work whether you’re carrying a smartphone or professional camera equipment worth thousands.
Step 1: Research Your Destination’s Power Standards
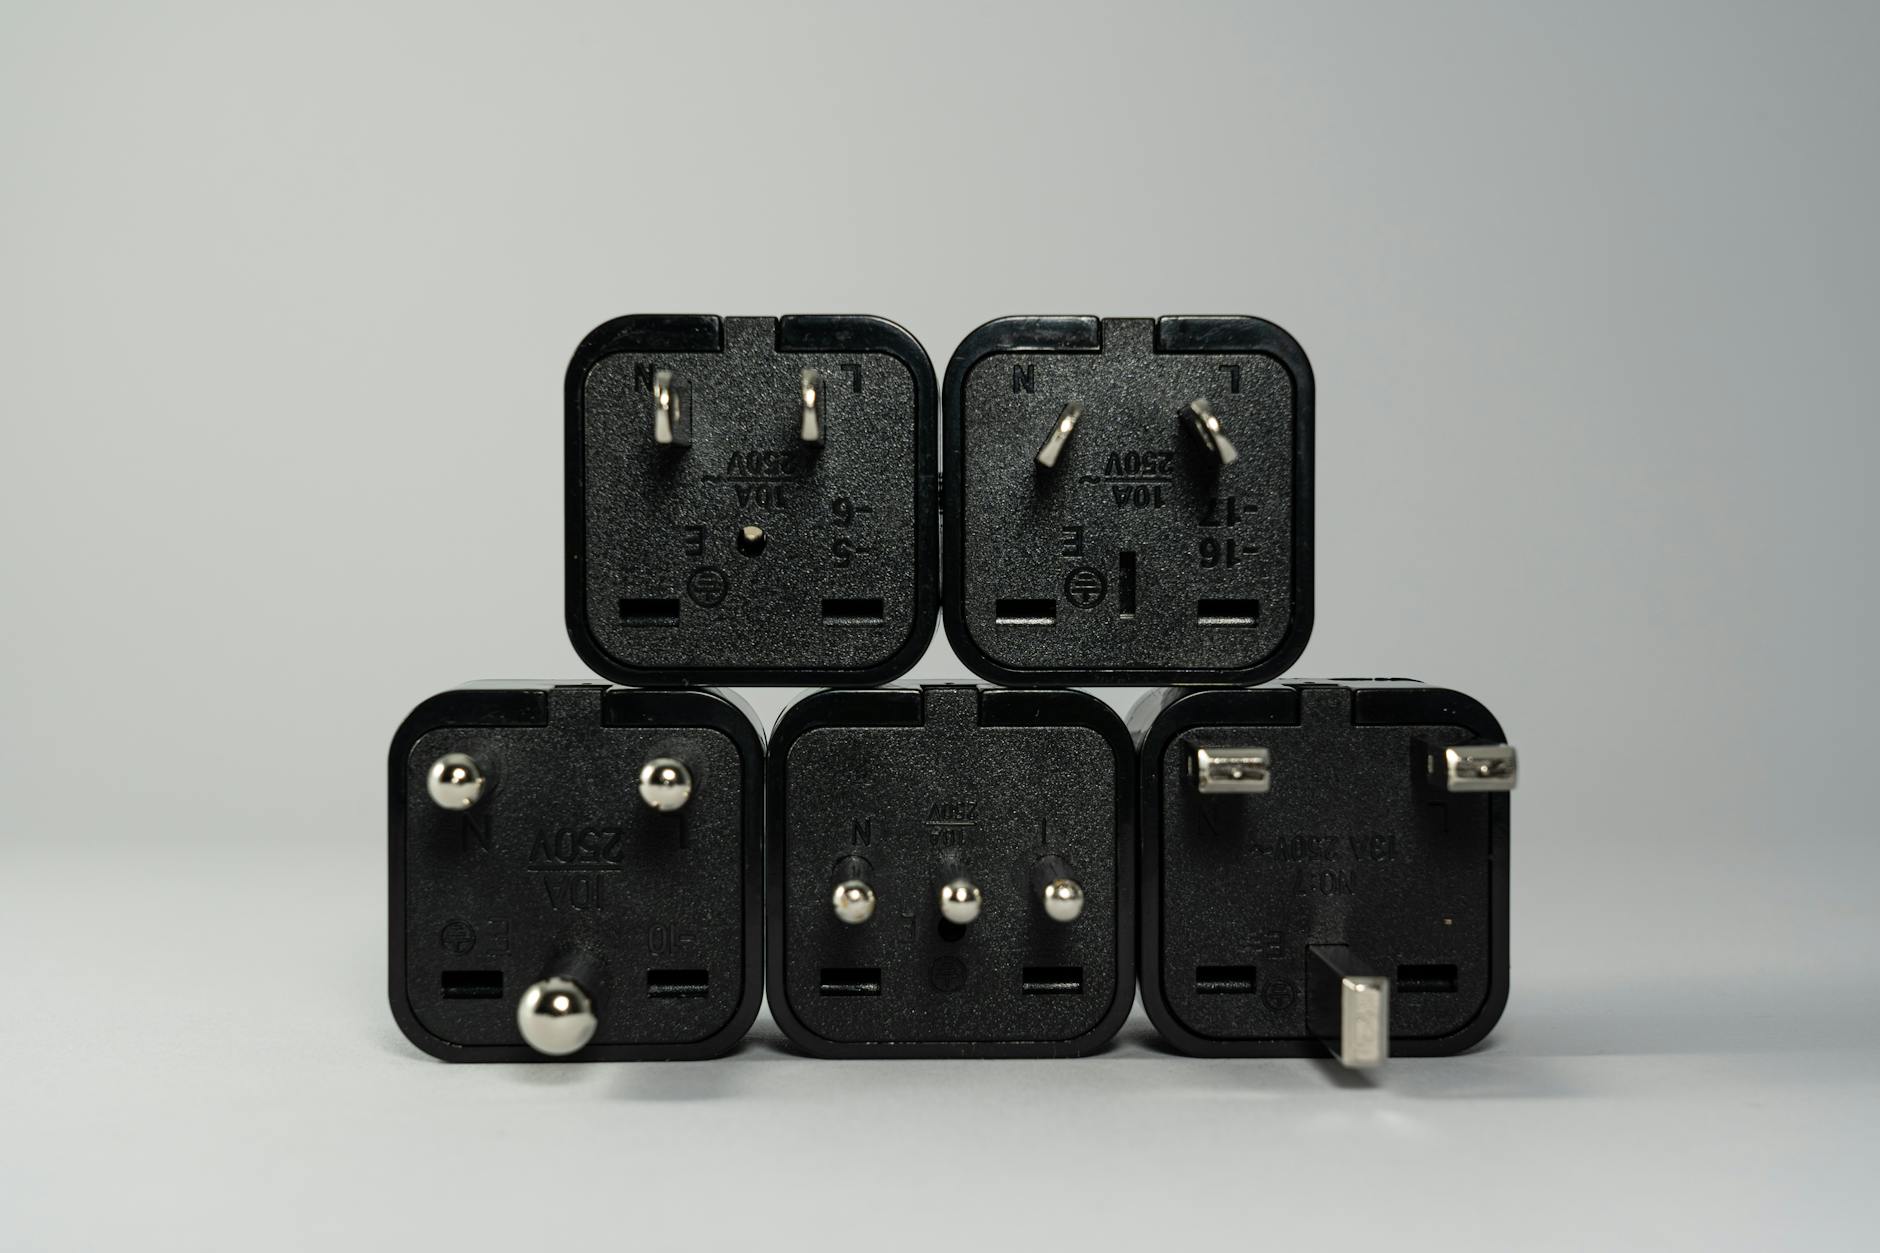
Different countries use different voltage systems, plug types, and frequencies that can damage your electronics instantly. The United States uses 110-120V at 60Hz, while most of Europe operates on 220-240V at 50Hz. Plugging a device designed for 110V into a 240V outlet without proper conversion will fry the internal circuits immediately.
Check each device’s power adapter for voltage compatibility. Look for “100-240V” printed on the adapter – this means the device handles international power automatically. Devices showing only “110V” or “120V” need voltage converters, not just plug adapters. Phone chargers, laptop adapters, and camera battery chargers typically handle dual voltage. Hair dryers, curling irons, and some smaller electronics often do not.
Purchase quality universal adapters with built-in surge protection. Cheap adapters from gas stations or airport shops often lack proper grounding and can damage sensitive electronics. Test all adapters at home before departure to ensure proper fit and function.
Step 2: Create Detailed Inventory Documentation
Customs officials in many countries scrutinize electronics carefully, especially expensive items like cameras, laptops, and tablets. Having detailed documentation prevents delays, reduces inspection time, and protects against false duty charges.
Photograph each electronic item with serial numbers visible. Store these photos on cloud storage and keep printed copies in your carry-on. Create a simple inventory list including item descriptions, serial numbers, purchase dates, and approximate values. This documentation proves ownership and helps with insurance claims if items are lost or damaged.
Research duty-free allowances for your destination. Many countries allow personal electronics duty-free, but some have strict limits on quantities or values. Business travelers often face additional scrutiny when carrying multiple laptops or tablets.
Step 3: Pack Items in Carry-On Whenever Possible
Checked luggage endures extreme temperature variations, pressure changes, and rough mechanical handling that can destroy electronics. Baggage compartments reach temperatures as low as -40°F during flight, then quickly warm to over 100°F on airport tarmacs. These rapid temperature swings cause condensation inside device casings and can crack LCD screens.
TSA and international security agencies require laptops, tablets, and large electronics in separate bins during screening. Pack these items in easily accessible areas of your carry-on. Remove them quickly during security checks to avoid holding up lines and drawing unwanted attention.
For items that must go in checked bags, use hard-shell cases with foam padding. Pelican cases and similar protective containers offer military-grade protection but add significant weight and bulk. Consider shipping valuable electronics separately for extremely important items.

Step 4: Use Proper Padding and Protection Methods
Electronics need protection from impact, vibration, and moisture during travel. Professional techniques go beyond stuffing items in socks or wrapping them in t-shirts.
Wrap each electronic item individually in anti-static bubble wrap or microfiber cloths. Regular plastic bags can generate static electricity that damages sensitive circuits. Place wrapped items in hard cases or padded compartments within your luggage.
Never pack electronics at the bottom of bags where they bear weight from other items. Position them in the center of luggage, surrounded by soft items like clothing. Keep charging cables and adapters in separate compartments to prevent tangling and reduce bulk around the main devices.
Silica gel packets help control moisture, especially in humid climates. Place several small packets around electronics, but keep them away from device vents where they could be inhaled if the packet breaks.
Step 5: Prepare Batteries for Air Travel Compliance
Lithium batteries power most modern electronics and face strict airline regulations. Improperly packed batteries can overheat, catch fire, or explode during flight due to pressure changes and temperature variations.
Keep devices with non-removable batteries (smartphones, tablets, most laptops) at 30-50% charge. Fully charged or completely dead lithium batteries are more likely to fail during flight. Turn devices completely off – sleep mode still draws power and generates heat.
Pack spare lithium batteries only in carry-on luggage, never in checked bags. Airlines prohibit loose lithium batteries in cargo holds due to fire risk. Keep spare batteries in original packaging or tape over terminals to prevent short circuits.
Power banks and portable chargers must stay in carry-on luggage. Most airlines limit power bank capacity to 100 watt-hours (about 27,000mAh) without special approval. Label larger power banks with capacity ratings to speed security screening.
Step 6: Handle Security Screenings Efficiently
Security procedures vary between countries and can damage electronics if handled improperly. TSA PreCheck and similar programs in other countries streamline the process, but international travelers often face additional scrutiny regardless of status.
Remove electronics from cases before X-ray screening unless you have a TSA-approved laptop bag. Keep power cords attached to devices to prove they function properly. Security agents may ask you to power on devices to demonstrate they work normally.
Arrive early for international flights to allow extra time for detailed electronics screening. Some airports conduct additional explosive detection swabs on electronics, which adds several minutes per item. Getting airport lounge access can provide comfortable waiting areas during extended security delays.
Step 7: Plan for Customs Declarations
Many countries require travelers to declare electronics worth more than specific amounts. Failure to declare can result in confiscation, hefty fines, or criminal charges in some jurisdictions.
Research declaration requirements for your destination country before departure. The European Union generally allows personal electronics duty-free, while countries like India and Brazil have strict limits and high duty rates on undeclared items.
Keep receipts for expensive electronics purchased within 90 days of travel. Customs officials may assume new-looking items were purchased abroad to avoid duties. Having documentation proving domestic purchase prevents unnecessary complications and fees.
Business travelers carrying multiple identical devices (several laptops or tablets) should prepare detailed explanations for their business necessity. Some countries view multiple electronics as evidence of commercial importing rather than personal use.
Key Takeaways
Protecting electronics during international travel requires planning, proper equipment, and understanding of airline and customs regulations. The most expensive mistake is assuming standard packing methods work for sensitive electronic equipment.
Start preparation weeks before departure by researching destination power standards and customs requirements. Purchase quality adapters and protective cases rather than improvising with household items. Document everything with photos and inventory lists stored in multiple locations.
Pack strategically with electronics in carry-on luggage whenever possible. Use anti-static materials, proper padding, and moisture control to protect against environmental hazards. Prepare batteries according to airline regulations and keep spare batteries accessible for security screening.
Remember that efficient packing strategies from professional travelers often apply to electronics protection as well. The investment in proper preparation pays for itself by preventing a single device failure or customs delay.
Frequently Asked Questions
Can I pack lithium batteries in checked luggage?
No, spare lithium batteries must stay in carry-on luggage due to fire risk regulations.
Do I need voltage converters for all my electronics?
Only for devices showing 110V or 120V only. Devices marked 100-240V work internationally with plug adapters.